Even the richest soil, if left uncultivated will produce the rankest weeds.
~Leonardo da Vinci
 I am excited to share with you the BEST organic technique to battle weeds, soil diseases, and pests when you are planning a new garden! Solarization uses a transparent plastic sheet to capture the heat and energy from the sun, which in turn causes a physical, chemical, and biological change in the soil without the use of chemicals.
The soil temperature is raised to lethal levels for many soil borne plant pathogens such as fungi, bacteria, nematodes, and pests along with weed seeds and seedlings. Soil solarization doesn’t only kill problem weeds at the surface, it destroys the roots below, all while making nitrogen in the soil more easily available to your new plants. Pretty cool!
Solarization isn’t a “quick fix” like chemical herbicides and pesticides. It requires a little time and effort on your part. The best time to solarize soil is during the months when the suns rays are strongest. (For Zone 5b that’s June-August.)
First, grab a cool beverage then roll up your sleeves!
- Lawn mower or weed trimmer
- Shovel or tiller (for new beds)
- Hose
- Clear plastic tarp (0.001-0.004 mil. thick), available at most stores where paint is sold
- Rocks, concrete blocks or something to secure the plastic in place
- Clean the area you want to solarize by removing rocks, twigs and other debris.
- Mow down any tall weeds and grass and rake the area so the ground is as level as possible. For new garden beds, till the area first and remove any large clumps of sod and weeds, and rake level.
- Moisten the area thoroughly with water until soil is dark but still crumbly. Lay the plastic down ASAP after watering.
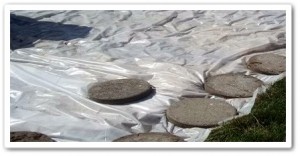
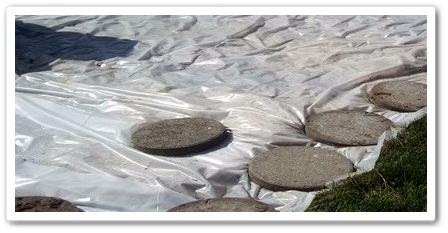
- Cover the soil with a clear plastic tarp, placing it as close to the soil’s surface as possible. Air pockets will prevent the soil from heating to maximum temperature.
- Secure the plastic with rocks, blocks, etc., around the perimeter, or bury the edges in a trench.
- Keep the plastic in place for 4 to 6 weeks.
- Remove the plastic and plant your bed. Remember to cultivate no more than 2″-3″ below the soil and mulch deeply to prevent new weeds.
During the solarization process, the heat that is generated is hot enough to kill a wide variety of soil-inhabiting pests and noxious weed seeds. PLUS, solarization helps to stimulate the release of nutrients from organic matter already in the soil – a beneficial and natural bonus for treating garden soil where veggies, herbs or flowers will soon be planted!


