Category Archives: Garden Art

More RECYCLED tires in the GARDEN!

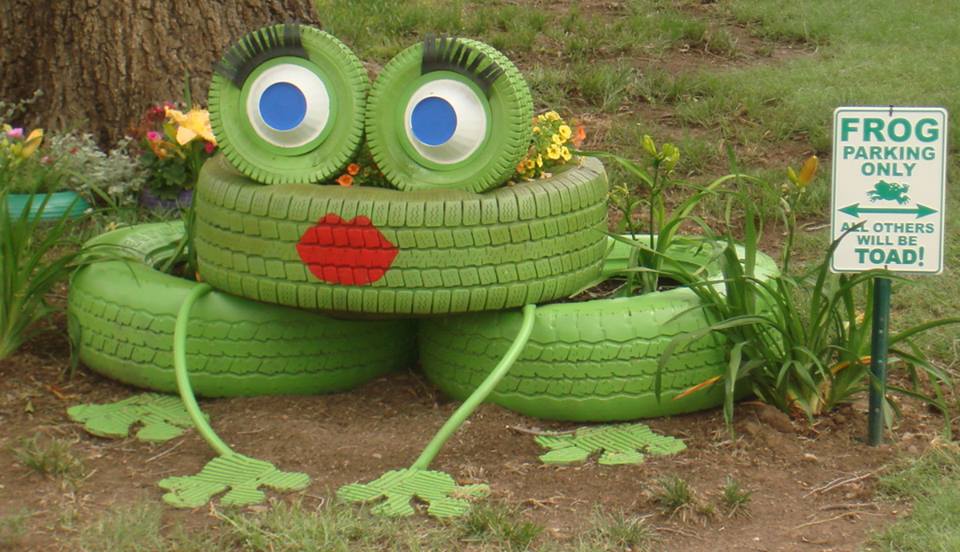
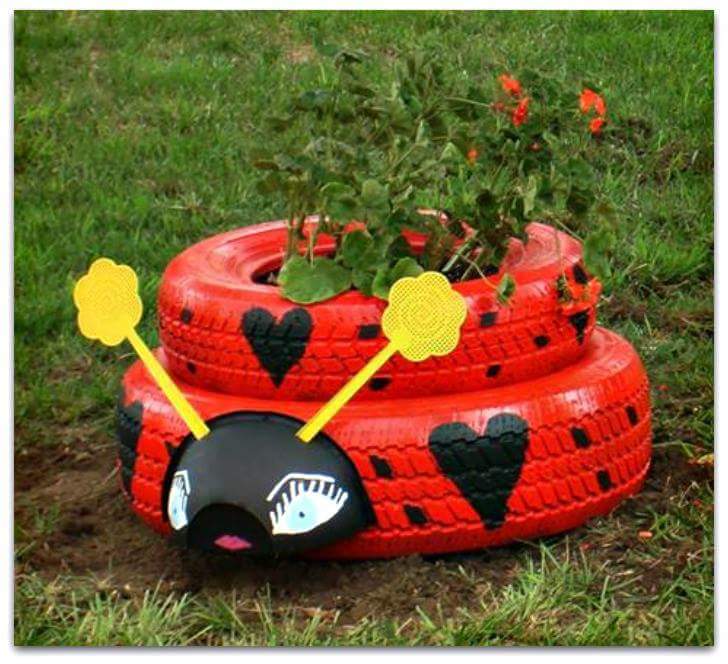
How to Make “Lyndy Ladybug” From Recycled Tires

Supplies:

1.    2 car tires, one a little larger than the other

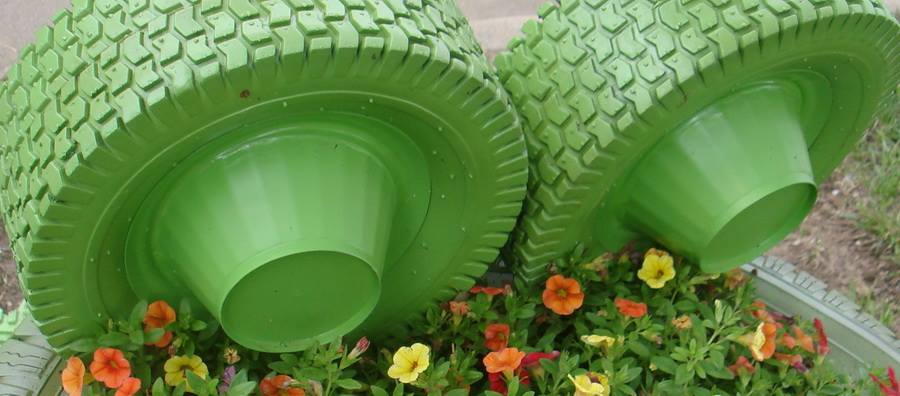
2.    1 large plastic salad bowl

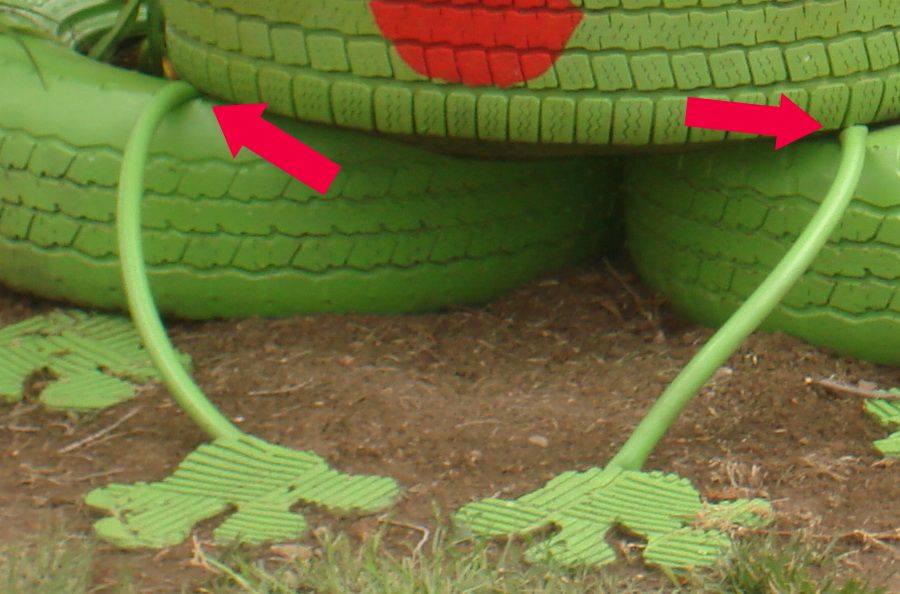
3.    2 plastic flyswatters

4.    Spray paint – Red, Blue, Pink, Yellow

5.    Brush paint –Black and White (small cans)

Tools:

1.    Power drill with ½” bit

2.    Utility knife

3.    Paint brushes

4.    Q-tips

5.    2x6x8 piece of treated lumber

6.    Four 3” deck screws

7.    1 washer

Instructions:

1.    Clean tires and let dry.

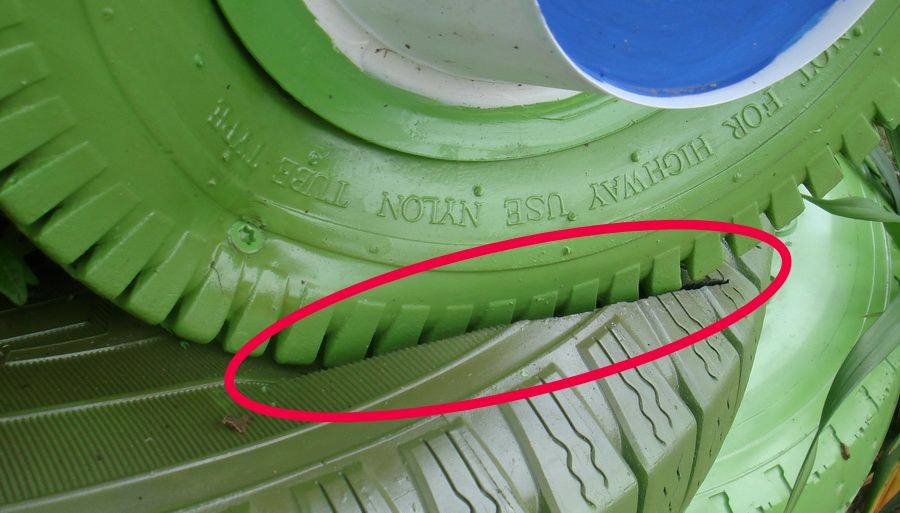
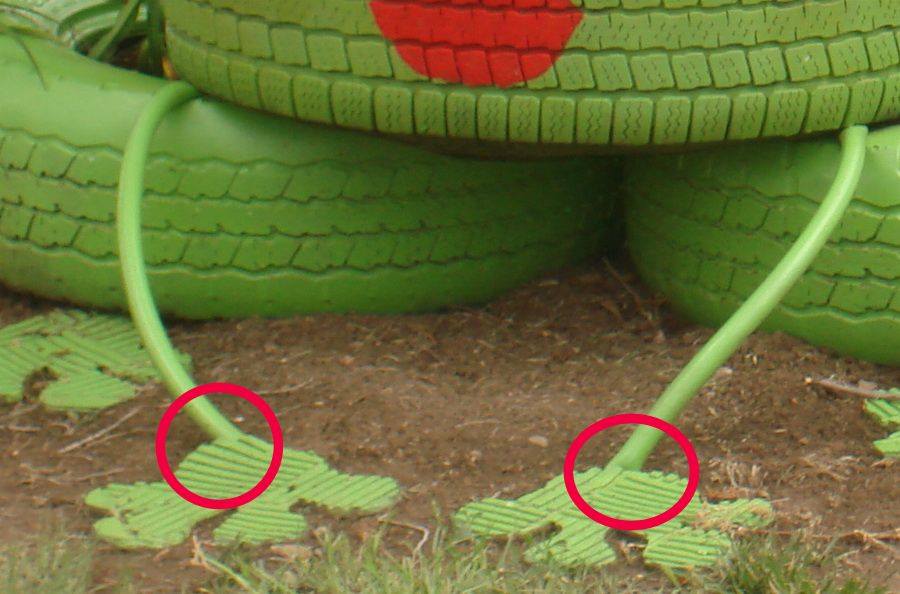
2.    Select which side of the large tires will be down.  Drill 4-6 holes in the sidewall of each tire to allow excess water to drain.

3.    Using the utility knife, cut thin rectangular holes in the bowl, an inch or so from the rim, and just big enough to slide the flyswatters through.

4.    Start painting!

a.    Spray paint the flyswatters.  I used Valspar Gloss spray paint/primer-in-one in the “Gold Abundance” color.

b.    Lay the tires out on drop cloth and spray paint.  I used XO Rust Gloss spray paint, in “Hot Red” color.  It took about 2-1/2 cans.  I didn’t paint the underside, since they wouldn’t be visible.

c.    Paint the bowl black with brush – I used Rustoleum flat black oil-based paint.

d.    Using the same paint, add spots (hearts) to body tires with brush. Warning:  thanks to the treads, the spots will take time and may seem like a real pain in the backside!

e.    With white paint and brush, add eyes, lashes, and brows to the bowl.  I used Rustoleum flat white oil-based paint.

f.     Fill in iris of eyes with blue spray paint.  I used Valspar satin spray paint/primer-in-one in the “Encounter” color.  I spray the paint onto a piece of wax paper or foil and use a Q-tip as a brush, because the spray paint will pretty much ruin a brush … unless you want to spend the time trying to clean a brush (yuck!).

g.    Using pink spray paint, add mouth to bottom of bowl.  Same deal with foil and Q-tips.  I used Valspar satin spray paint/primer-in-one in the “Thistle Field” color.

5.    Place the lumber inside the big tire, right behind where the head will be mounted.  Install 3 deck screws (center and on either side) through the rim of the bowl, through the tire, and into lumber.

6.    Place the larger tire upside down on a table or other support – so you can see the underside of the bowl head.  Slip the flyswatters through the holes you cut earlier in the bowl and bring the ends together.  Using the washer and remaining deck screw, secure the flyswatters through the tire and into the lumber.

7.    Put it all together!  Lay the larger tire with head on the ground – right-side up this time! Stack smaller tire on top.  Fill them to within an inch of the inner circle on the top tire with soil.

8.    Plant with flowers of choice.  I chose to use a bunch of reddish-orange geraniums.

This is how I did it, but if you make one, let your creativity run the show!   And don’t tell me you don’t have any … you just have to let it fun free for a bit, so HAVE FUN!

THANKS A BUNCH for your interest in Lyndy Ladybug – her ego (and mine!) may never be the same!


Happy Gardening!
Lynn Lapka

Recycled tires in the GARDEN!

How to Make “Frieda La Frog” From Recycled Tires

frog 7

Supplies

  • 2 car tires and one larger truck tire
  • 2 small tires with rims (from cart, wheelbarrow, or mower).
  • 4 plastic bowls
  • Tire inner tube
  • Garden hose
  • Recycled rubber doormat
  • Lid from a broken storage tote
  • Duco Cement
  • Silicon caulk (paintable)
  • Spray paint – green and white
  • Brush paint – Red and blue

 Tools:

  1. Power drill with ½” bit
  2. Utility knife
  3. Scissors
  4. Paint brushes
  5. Q-tips
  6. 2x6x8 piece of treated lumber
  7. 3” deck screws
  8. Long galvanized nails

Instructions

1. Clean tires and let dry.

2. Select which side of the large tires will be down.  Drill 4-6 holes in that side of each tire to allow excess water to drain.

3. Cut storage tote lid about 1-2” bigger than largest tire opening.  Poke 3-4 holes in it for drainage, and work it into the tire to cover the bottom hole.

4. Use utility knife to cut 4 feet from rubber door mat.  I drew the first with a silver Sharpie and cut it out, then used it as a template to make the others match.

5. Lay all the tires, feet, hose, and 2 of the bowls out on drop cloth and start painting!  I used Valspar flat spray paint/primer-in-one, in “Tropical Foliage” color.  It took about 5 cans.  I didn’t paint the underside, since they wouldn’t be visible.

6. Paint the other two bowls white – I used Rustoleum flat white.  Once dry, paint the bottom of these two blue.

7. Using Duco cement, glue the bowls into the rims of the small tires.  The white bowls are the eyeballs, and the green ones on the back give the eyes a bulgy look from behind.

8. Spread a bead of silicon caulk on joint of bowls and rims.  Once it dries, touch up the paint.  Spray the caulked part on the back of the eyes.  To touch up the front, I spray paint onto a piece of wax paper or foil and use a Q-tip as a brush. frog 5

9. For eyelashes, cut a wedge-shaped section of inner tube, then use scissors to make cut from the inner edge to about 1-1/2” from outer edge.  Use Duco Cement to glue into the space between the tire and the rim.

frog 6

10. Using red paint and brush, add mouth to largest tire.

11. Now the slightly tricky part – making the eyes stable in their mounting.  First, set the eyes on the “head” tire and cut two slits in the large tire with a utility knife.   This allows the eyes to sit down into the tire a bit. 

frog 8

12. Insert the piece of lumber into the head tire under where the eyes will sit.  Install deck screws at an angle through eye tire, head tire, and into lumber. Do this with both eyes.  They will have a little wobble to them,         but not much.  Later, when this tire is filled, stability gets even better.

13. Put it all together!  Lay the 2 body tires side-by-side on the ground.  Fill them to within an inch of the inner circle with soil.

frog 4

14. Place head tire on body tires, centered and pulled forward a couple inches.

15. Lift head slightly and slip one end of arm hose on each side, between tires.

a. Cut off arms to length and secure to ground with galvanized nails as mini-stakes.

frog 3

b. Place feet in position, and use nails again to hold in place.

16. Fill top tire with soil to within an inch of the inner edge height.

17. Plant with flowers of choice.  I chose to use perennial daylilies in the bottom tires, and annuals in the top, so I don’t have to replant more than one each year.

This is how I did it, but if you make one, let your imagination go out and play … get silly or get serious, but make it YOURS!

Finally, and most important, THANK YOU SO MUCH for your interest in Frieda La Frog.  I’ve told her how popular she’s become, and I’m a little worried … she’s demanding an entourage, Ray-Bans, and one of those silly little purse-sized dogs …

Happy Gardening!

Lynn Lapka